Thursday 21 August 2014

IndigoBlu team with ICE Resin on a Blog Hop!!

There are quite a lot of exciting things going on at IndigoBlu:

Open Day on 31st August
New Blog Challenge - Indian Summer
Blog Hop with IndigoBlu and ICE Resin

Yes, that's right, you did read that correctly....blog hop! So click the link to get involved! All you have to do is visit the blog and link through to the blog for that day, make a comment, and have yourself in with a chance to win a prize!  The Blog Hop runs for 3 days, starting today. Enjoy your journey!

I hope to see some of you on the open day, when I shall be buy myself some ICE Resin to start my own journey, combining this with my paper crafting and my jewellery making!

Peace to you all,

Maxine


Full links below:

https://www.facebook.com/events/794361353930949/
http://indigoblublogchallenge.blogspot.co.uk/2014/08/challenge-19-indian-summer.html
http://www.indigoblu.com/blog/2014/08/quintessentially-christmas-blog-hop/

Wednesday 20 August 2014

An IndigoBlu Christmas!


Hello bloggers! I have put together a quick little post today, to add my card to the IndigoBlu Blog Challenge! This month's entry is Christmas in July!

Completed Christmas card

Working with IndigoBlu's new range of Christmas stamps I have created the following card:

Stamps used are:
Snowflake Lace (background)
Winter Wonderland (topper)
Merry Christmas Circle - dinkie (sentiment)

I started out with a piece of IndigoBlu white stamping card, and inked up using Distress Inks (chipped sapphire, tumbled glass, peeled paint), which I sprinkled and spritzed with water in the 'sky' area.

After fully drying, I very generously inked up the Winter Wonderland stamp using jet black Stazon. I left this to one side to fully dry. Later, I swiped FlitterGlu along the edges with my Phat Foam and added Mega Flake - Yorkshire Dales - which I gently 'scoochied' to give a fine line 'frame'.

Winter Wonderland stamp

I took a 5x7"card blank and cut some black card to fit. Onto this black card (IndigoBlu Coal Black Stamping card), I used my Snowflake Lace stamp to add FlitterGlu and Mega Flake to. The detail is amazing, and it's a shame that you can't see it that clearly in my photo, but I hope the close up shows how good it looks.

Close up detail of Snowflake Lace

The last bit of stamping was done on some old card stock I had laying around, onto the shiny side I stamped the Dinkie Merry Christmas Circle, using Jet Black Stazon. This I left to dry thorough, as the card was really very shiny. Once dry, I die cut using a Spellbinders Ironwork Motifs die. I inked the edges very gently with a combination of the same inks used on the topper.

Dinkie Merry Christmas Circle sentiment
I sprayed the topper and sentiment with Iridescent Spray and Sparkle, then simply assembled the card, also adding some ribbon and little gems.

I'm not overly happy with my bow - but as I applied it with the Flitterglu, that bow's not coming off!!!

I hope you like my little card,
Peace to all!

Saturday 2 August 2014

"Far in the East....

Boadicea, standing loftily charioted..." (Tennyson)

All stamped with IndigoBlu Boadicea A5 stamp set

Well, I am in East Anglia here, the fenlands of Cambridgeshire, bordering Suffolk!

I've chosen to work with this stamp set as it's such a beautiful image of Boadicea and I was drawn by that Celtic part of me.

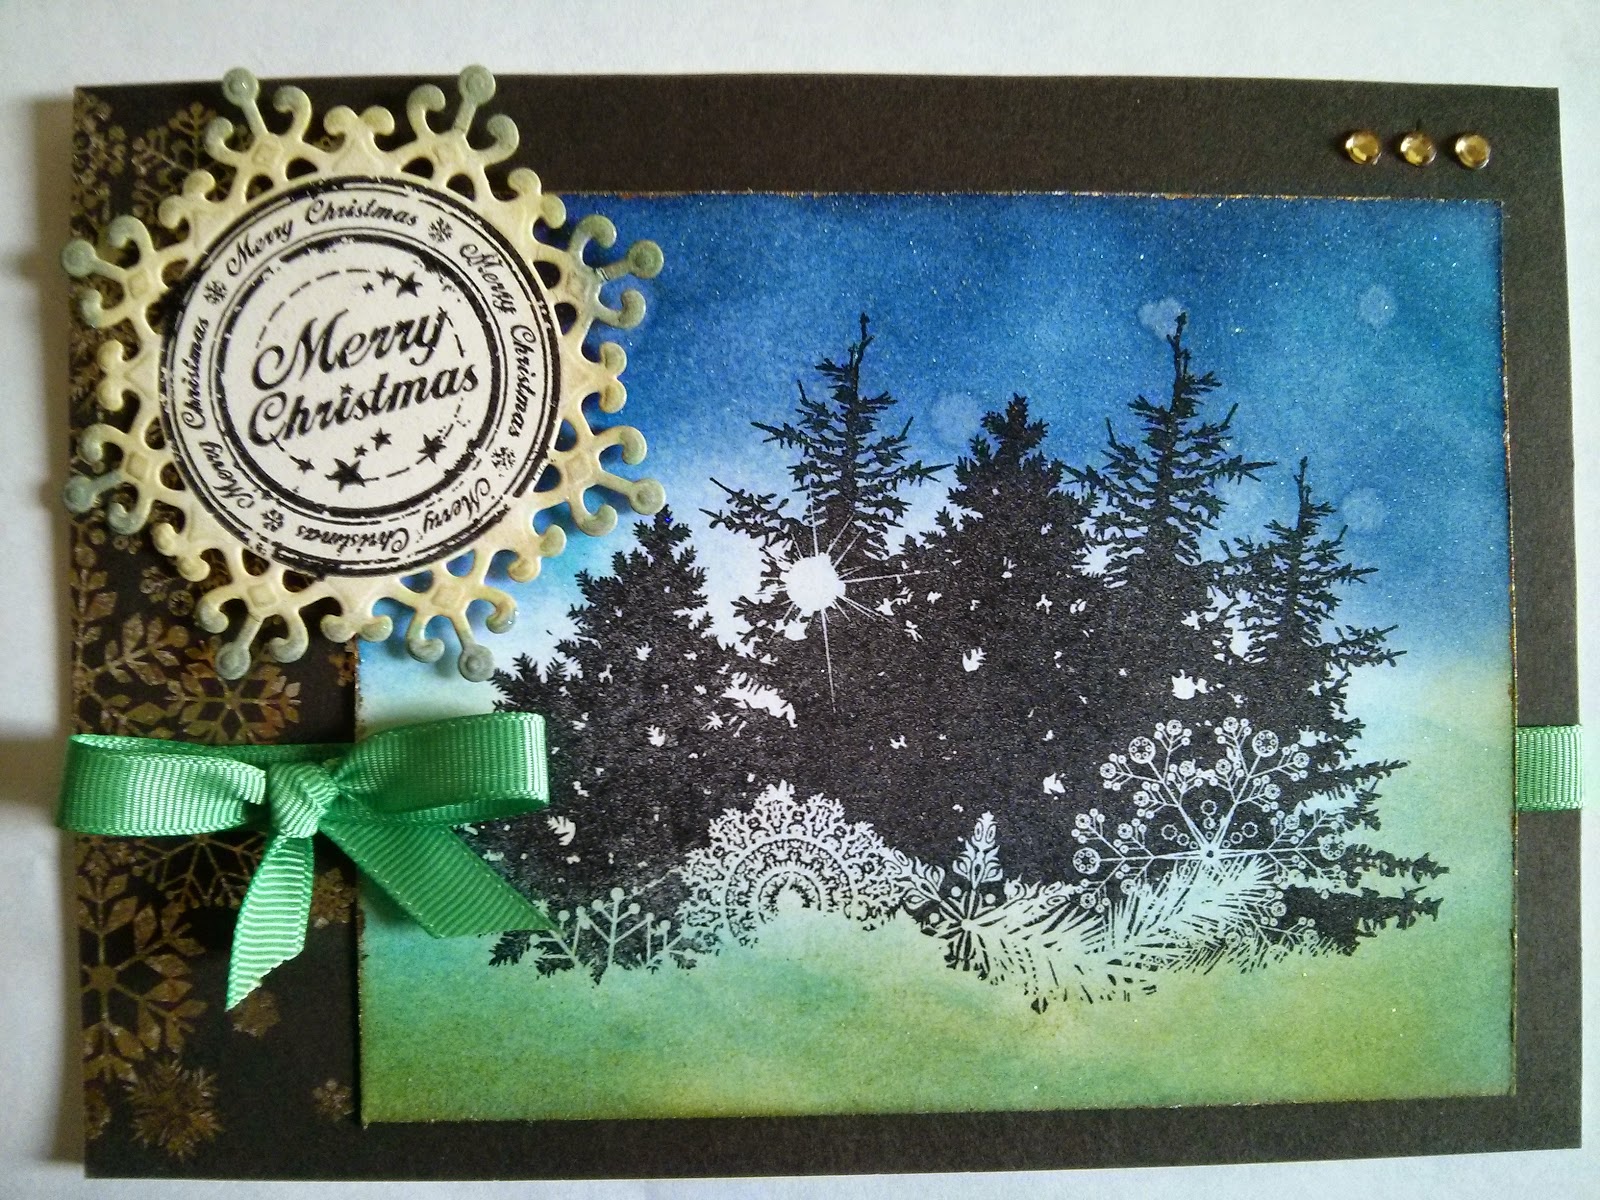
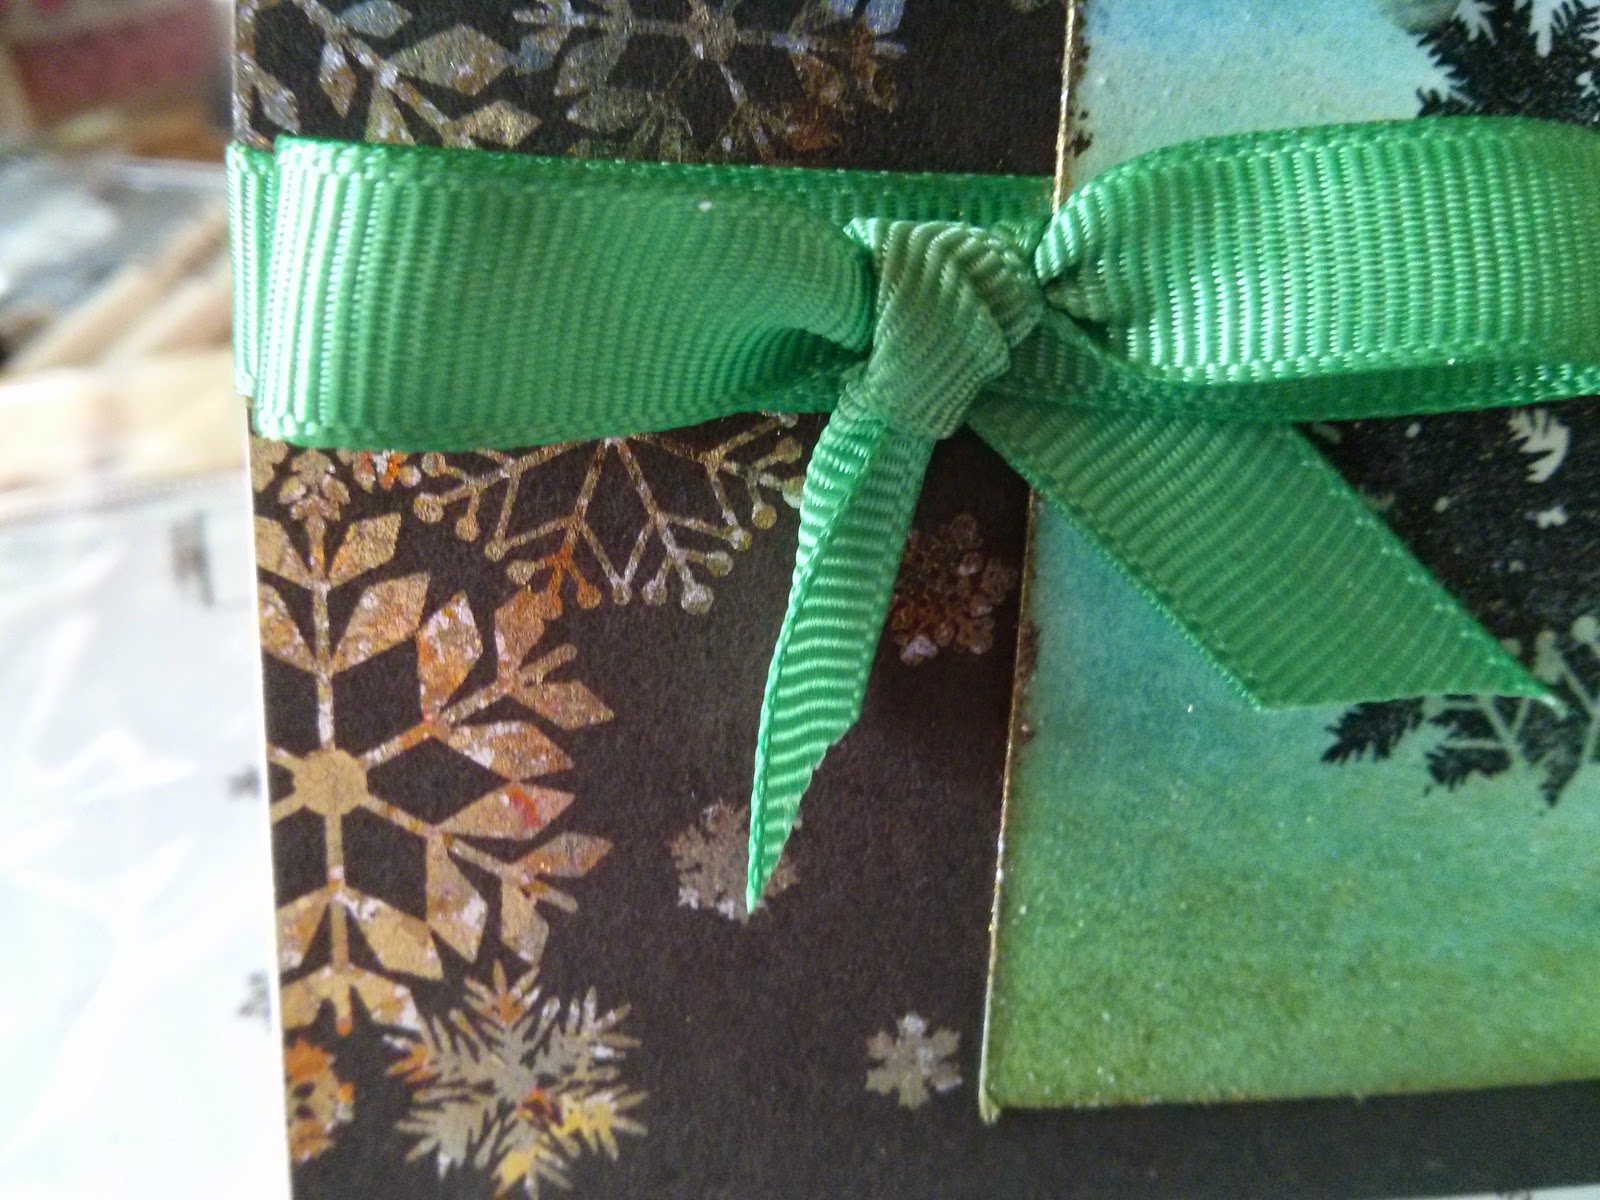
I started out with an 8"square piece of Kraft card. I chose the border from the A5 Boadicea stamp set, to 'stamp up' IndigoBlu Flitterglu all around the edges, which I them covered with Yorkshire Dales Mega Flake.  I also edged this and a 6"square of IndigoBlu black stamping card with Flitterglu and Mega flake.

I cut a 4 3/4" square of IndigoBlu white stamping card and stamped Boudicea in the middle using black Archival Ink (Ranger). I inked around using Distress Inks Peeled Paint, and also a little Walnut Stain. I distressed further by adding a few blobs of water and dabbing, then finally spritzing with a little more water. This had a very interesting effect on my archival ink and I will further experiment with other inks and paper/card, however, using this archival ink on the IndigoBlu stamping card, caused the ink to raise slightly, which left it with a very slight embossed effect, which I rather liked.  I coloured in the image using distress inks and a water brush. I love the way the distress ink gives a muted colouring in look. Finally, I added a 'sketchy' border (which matched the wording stamps used next)

I stamped up a wording from the Boudicea set, cut and inked up with distress ink. I spritzed these to give the wording the 'raised' effect I mentioned earlier.... I'm really not sure if this is an actual technique used, but I did come across this quite coincidentally, and I thought it worth mentioning!
Antique bronze wire roses (pre-glued!)

Lastly, inspired by the rose in the main image, I made myself 3 roses out of antique bronze wire, with a few little swirls. These I stuck down using a glue gun.

Overall, this looks like an image that has been framed, however it is quite flat, apart from the roses. This could be used as a wall hanging, or stuck to a card as a topper - if I was to put this in the post, I would not add the roses, although they are not overly heavy.

I do hope you like this and I welcome any comments or questions! I may recreate this one for a demo piece and try some different colourways....the frame in black would be very dramatic! However, this piece was needing a far less prominent frame, and gives a lovely aged effect (I hope!)

Peace to all!